Hey guys!
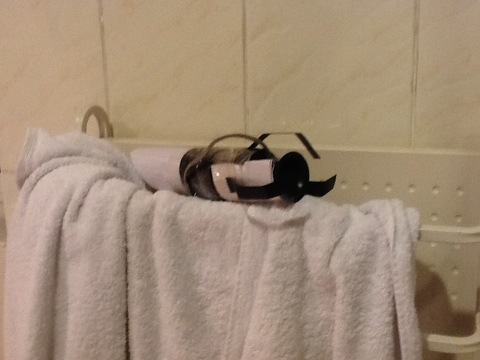
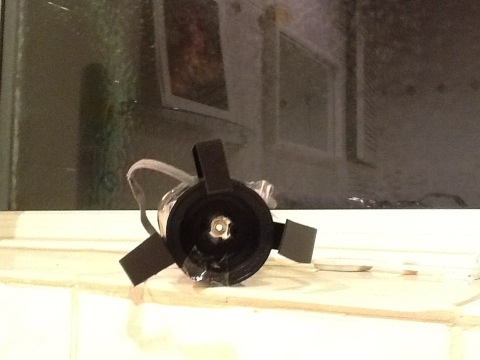
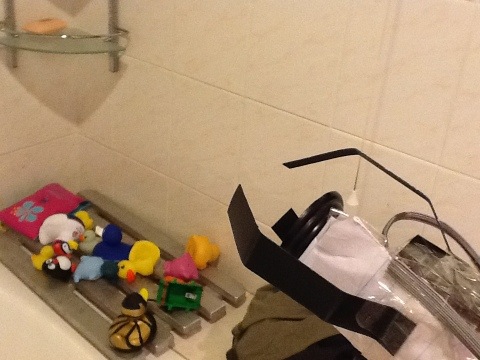
I just made my very own Portal Gun! Check out the pictures!
Category Hardware
I’m Running Windows on my Mac!
Hey,
I told you about my migration to mac, and about all the program’s I would miss. Now I don’t have to miss them!
With VirtualBox, which is free, and a Windows 7 disk image, which I also stumbled upon free on the web, I was able to run windows on my mac, absolutely free!
I’m going to make a tutorial about this soon!
I Have Got a MacBook Pro!
Hey guys!
Saturday was my birthday and I got a MacBook Pro! It was the 15-inch version and it is sooooo cool! It has OS X Lion with the multitasking gestures! That’s all for now, see you!
I’m Moving to Mac…
It’s true…
I’m moving to Mac. I am, hopefully, going to get a MacBook Pro for my birthday at the end of this month. It is not because I don’t like Windows, no, it is for a few other reasons:
1. My windows laptop is slowwwwwwwwww…
2. Mac are cool. They have style, and are so über-cool. The GUI is much better than windows.
3. Xcode and the iOS SDK. Yeah, for about two years now, I’ve wanted to get a mac for solely this reason. I wanted to make iPhone apps! Also, I was tired of using VB to make programs for windows, I wanted to start developing for mac!
4. OS X Lion is A.M.A.Z.I.N.G!!! Have you tried it at an Apple Store? It it such an update to Snow Leopard. It is enhanced by the MacBook pro’s multitasking gestures.
Yeah, I’ll miss Windows, but I believe that Mac is the way forward for me. I’m not saying mac’s better than windows, I’m just saying that for me, mac is right – just because it has what I need and want.
Here are the top three programs I’ll miss from Windows:
Visual Basic. It is the best SDK I have ever used, it creates program’s for windows easily. I made program for my friends all the time. I guess Xcode is the mac alternative, I hope it will be this good!
Dark Basic Pro. It was the best 3d game programming language I have ever experienced. Unfortunately, the compiler is not available for macs, so I will have to find another, equally awesome 3d game programming language that is suited to macs.
3d RAD. I used this program for a Latin project at school once, I got 9/10. It is so easy to use, and the fact that it had a scripting tool helped a lot – because I like scripting.
There we have it. Thanks for reading what I think is my longest post ever. Remember, comment, like and follow!
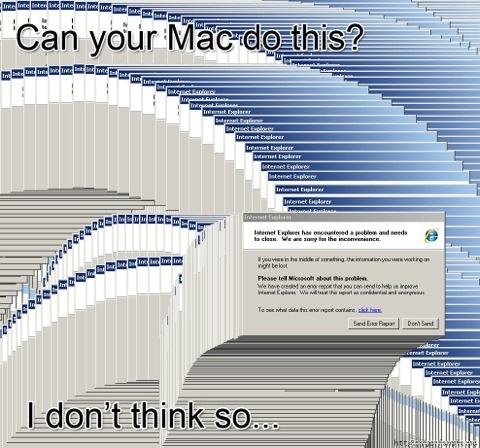
I leave you with an image that made me chuckle:
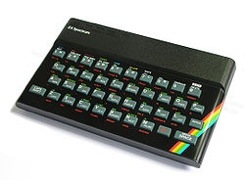
Happy Birthday ZX Spectrum!
20 years ago to this day (April 2012) the ZX Spectrum was released by Sinclair as a colour computer to trump its black and white predecessor. It ran Sinclair’s very own Sinclair BASIC with its special chiclet keyboard, which was the forefather of modern day keyboard shortcuts and auto correction. The ZX Spectrum is one of the very few pre-millennium computers to still be remembered today, like the Commodore and the BBC Micro.
Please tell me your experiences with any of these computers or any computer that doesn’t run the “Big Three” (Windows, Mac and Linux) by commenting below.
Best wishes ZX Spectrum, thank you for all those hours of joy you brought…
Raspberry Pi Game Tutorial – Make Games for the Raspberry Pi!
Hey guys! Today I’m going to show you how to program games for the Raspberry Pi! We are going to make a very simple 2d game using the program Game Editor. This tutorial will go through everything! All you need is a Raspberry Pi! Okay, let’s go!
Firstly, we need to hook up a monitor, keyboard and mouse to your Raspberry Pi. Make sure your SD card running the OS is in the Pi. Then connect the power lead. Wait until it has finished booting. Then, open up the web browser.
We are going to install Game Editor, so navigate to game-editor.com, or search game editor. Click Download, then click the link that says:
Windows (9x, Me, NT, 2000, 2003, XP, Vista, 7), Linux and Mac OS X version
Install it to a directory you can find.
Unzip this file into the same directory. Then go to Applications, System Tools, Terminal. Once terminal has opened, navigate to the unzipped folder using the commands dir and cd. For instance, if the folder is in my Documents, I would first type dir and hit enter. It would list all the folders in it’s current directory. I see Documents is there, so I type cd Documents and hit enter. Then again I type dir and hit enter. I see the folder GameEditor so I type cd GameEditor and hit enter. When you think you are in the GameEditor folder, type dir and hit enter. If many files come up including gameEditorLinux, you are in the right place.
Then, still in the GameEditor folder, type the following:
chmod +x gameEditorLinux
Then hit enter. Quit out of terminal and navigate to the GameEditor folder through a file browser. Open up gameEditorLinux and a window should pop up, this is Game Editor!
Now you have installed game editor, let’s make a very simple game.
Click Add Actor and name it anything. Click add. A Pacman will show up. He is an actor. Actors are objects on the screen. Pacman is the default, so we’ll live it like that. Right click on him and click actor control. This is where we can edit things about the actor. Where it says events, click add, then click create actor, then add action. Click follow mouse, add, then immediate action. Then you can close. Click game mode and you will see Pacman following your mouse!
This is because we added the event create actor. This occurs when the actor is created. As the actor is created at the beginning, it is like an actor load event. We set it to follow mouse, so it would follow the mouse. When we ran the game, sure it followed the mouse!
To finish off, go to config, game properties and click on the button that says window and change it to full screen. When you go back to game mode, it will be in awesome full screen which will make it look cooler and that you really are making a game on the Raspberry Pi! Don’t forget to save your game!
Thanks for reading this tutorial! I went through a lot, so if you have ANY questions, please ask them in the comments section.
Have fun Raspberry Pi-ing!
Cygnett Bluetooth Keyboard Review
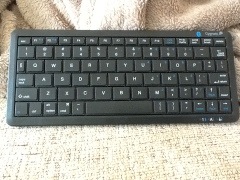
Today, I will be looking at the Cygnett Bluetooth Keyboard. It’s a small, portable QWERTY keyboard that is able to connect to a multitude of deices including the iPad (2), iPhone 4(s), MacBook Pro and Air, iPod Touch and Samsung Galaxy II. It 218mm x 93mm x 21mm, and it weighs 200g; this makes it very portable. It has 78 keys including Print Screen.
When you first look at it, you realise how small it is, and you can tell that Cygnett had made it with portability in mind. This means that they had to compromise in the size of the keys, which makes it harder type with and takes a bit of time getting used to. It comes complete with a cmd and option key, for use with MacBook only, and the print screen only works on computers too. There is a numpad, that can work on iDevices though. It also has arrows keys which are lacking from the virtual keypad on iOS.
The keyboard comes with a charging cable that connects to a USB port such as a laptop or a PS3. It takes 2-3 hours to fully charge, but you can use it for quite long from one hour’s charge. The device doesn’t take long to pair and you are good to go as soon as it does.
Overall, a very good product, I would only improve it by making the letter keys a bit bigger, and moving all the other keys to fill the gap in the border so the actual keyboard will be the same size.
Have you got a bluetooth keyboard? Comment below!
Raspberry Pi Finally Available for Order!
Hooray!
Raspberry Pi is finally available to order. After the long wait and God knows what happened in the factory, we can order one! I ordered one as soon as I got the news… I’m so excited!

